-
Essential:
Essential cookies are essential for you to browse the website and use its features. Cookies that allow web shops to hold your items in your cart while you are shopping online and navigating the website are an example of strictly necessary cookies. Our website does not work without these cookies, so they are stored without your express consent.
-
Preferences cookies:
Preferences cookies can be used to change the user experience of our website. Preferences cookies allow a website to remember choices you have made in the past.
-
Statistics cookies:
Statistics cookies are used to collect information about how you use our website. None of this information can be used to identify you.
-
Marketing cookies:
Marketing cookies track your online activity. The purpose of marketing cookies is to help advertisers deliver more relevant advertising or to limit how many times you see an ad.
How to Pack for a Multi-Day Ski Tour
Packing smart makes the difference between a smooth Arctic adventure and a daily wrestling match with your gear.
A multi-day ski expedition is all about balance — comfort, efficiency, and simplicity. The goal is to bring everything you need, but nothing you don’t. Every item has its place and purpose, and how you pack it can make your whole week easier.
1. What we provide — and what you bring
Most of the heavy and specialized gear is provided for you: skis, poles, sleds (pulks), tents, sleeping mats, stoves, fuel, food, and safety equipment. You only need to bring your personal clothing and a few small items listed in the detailed packing sheet we send before the trip.
Group gear isn’t carried by the guide alone — it’s evenly shared between everyone’s sleds to keep the load manageable. That’s part of the expedition spirit: teamwork from the very start.
2. Layer smart — like in summer, just colder
Your clothing system is actually very similar to what you’d use on a summer trek: layering is the key. Ski touring is hard work, so even in freezing temperatures you will stay warm while moving.
The basic setup includes a thin, breathable base layer next to the skin, a light insulating mid layer such as fleece or wool, and a windproof shell layer on top. The shell is one of your most important pieces of clothing — it must be completely windproof, especially in the open fells, and a large, protective hood helps shield your face from the cold.
Many skiers also use windproof base-layer pants or inserts to protect the most exposed areas from windchill. A warm jacket, whether synthetic or down, and an insulated skirt or pants are essential for breaks.
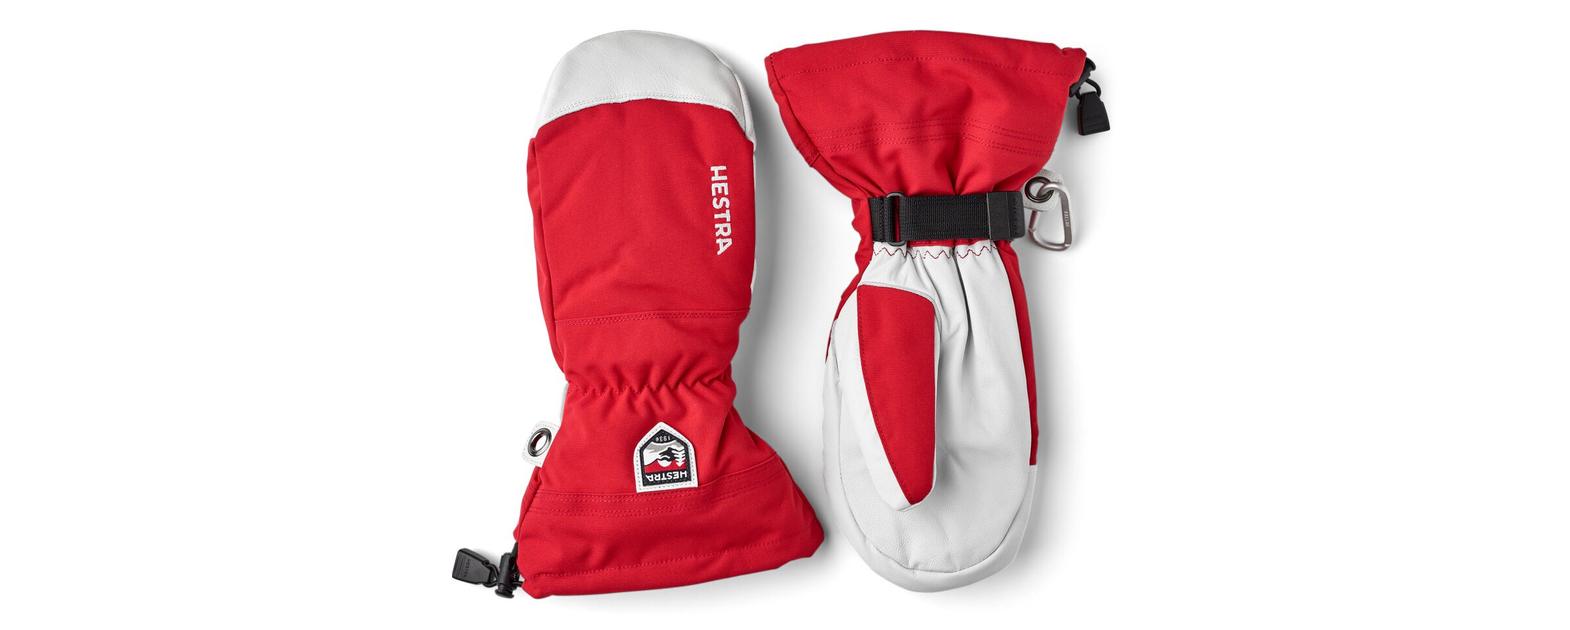
For hands, mittens are the only reliable choice in Arctic conditions. Two-layer mitts, such as Heli Ski–style mittens with removable liners, work exceptionally well — the inner layer dries quickly, and the outer shell stays warm and weatherproof. Cold fingers are the first sign to stop and adjust; once they freeze, recovery takes time.
During pauses, you cool down fast, so it is important to have those extra warmth layers ready. The golden rule is simple: never sweat. If you start overheating, remove a layer immediately. Damp clothing can quickly lead to hypothermia, even in mild conditions.
3. Keep it light — and logical
Everything travels in a sled, so weight distribution matters more than the total weight. Heavy items like food and fuel go low and toward the back; lighter things like clothing and sleeping gear go higher up.
Keep what you need during the day — thermos, gloves, snacks, camera — at the top or in your daypack, so you don’t need to unpack the whole sled for every break.
4. Keep it dry and organized
Use waterproof stuff sacks or dry bags to separate clothing, food, and sleeping gear. It keeps the sled tidy and your things safe even in heavy snow. Labeling your bags helps too — it’s much easier to find what you need when the temperature drops below –20 °C.
Many guests like to pack a small comfort item — maybe a chocolate bar, a tiny notebook, or a lucky charm. It doesn’t weigh much, but it can lift your spirits on long days.
5. Practice before you go
If possible, do a short day trip or overnight test with your setup. It’s the best way to see what works and what you can leave out. Knowing your gear makes the real expedition feel like second nature from day one.
Packing is part of the adventure — a quiet ritual before stepping into the Arctic wilds. The better you know your gear, the more you can focus on what really matters: the journey itself.
You’ll find the complete packing checklist as a downloadable PDF below.
Feel free to reach out if you’d like help choosing gear or adjusting your kit — we’re happy to help.